Install
Download the latest .exe or .dmg from the releases page and run the installer on every node that will participate in the farm.
The installer opens HTTP port 8420 and UDP port 4243 in the Windows Firewall and adds a startup shortcut so MinRender launches with the machine. MinRender, like all render farm coordinators, lets you launch executables remotely. That behavior is dangerous outside a trusted LAN — keep it inside one, test your flow thoroughly, and practice safe computing.
Point each node at the shared folder
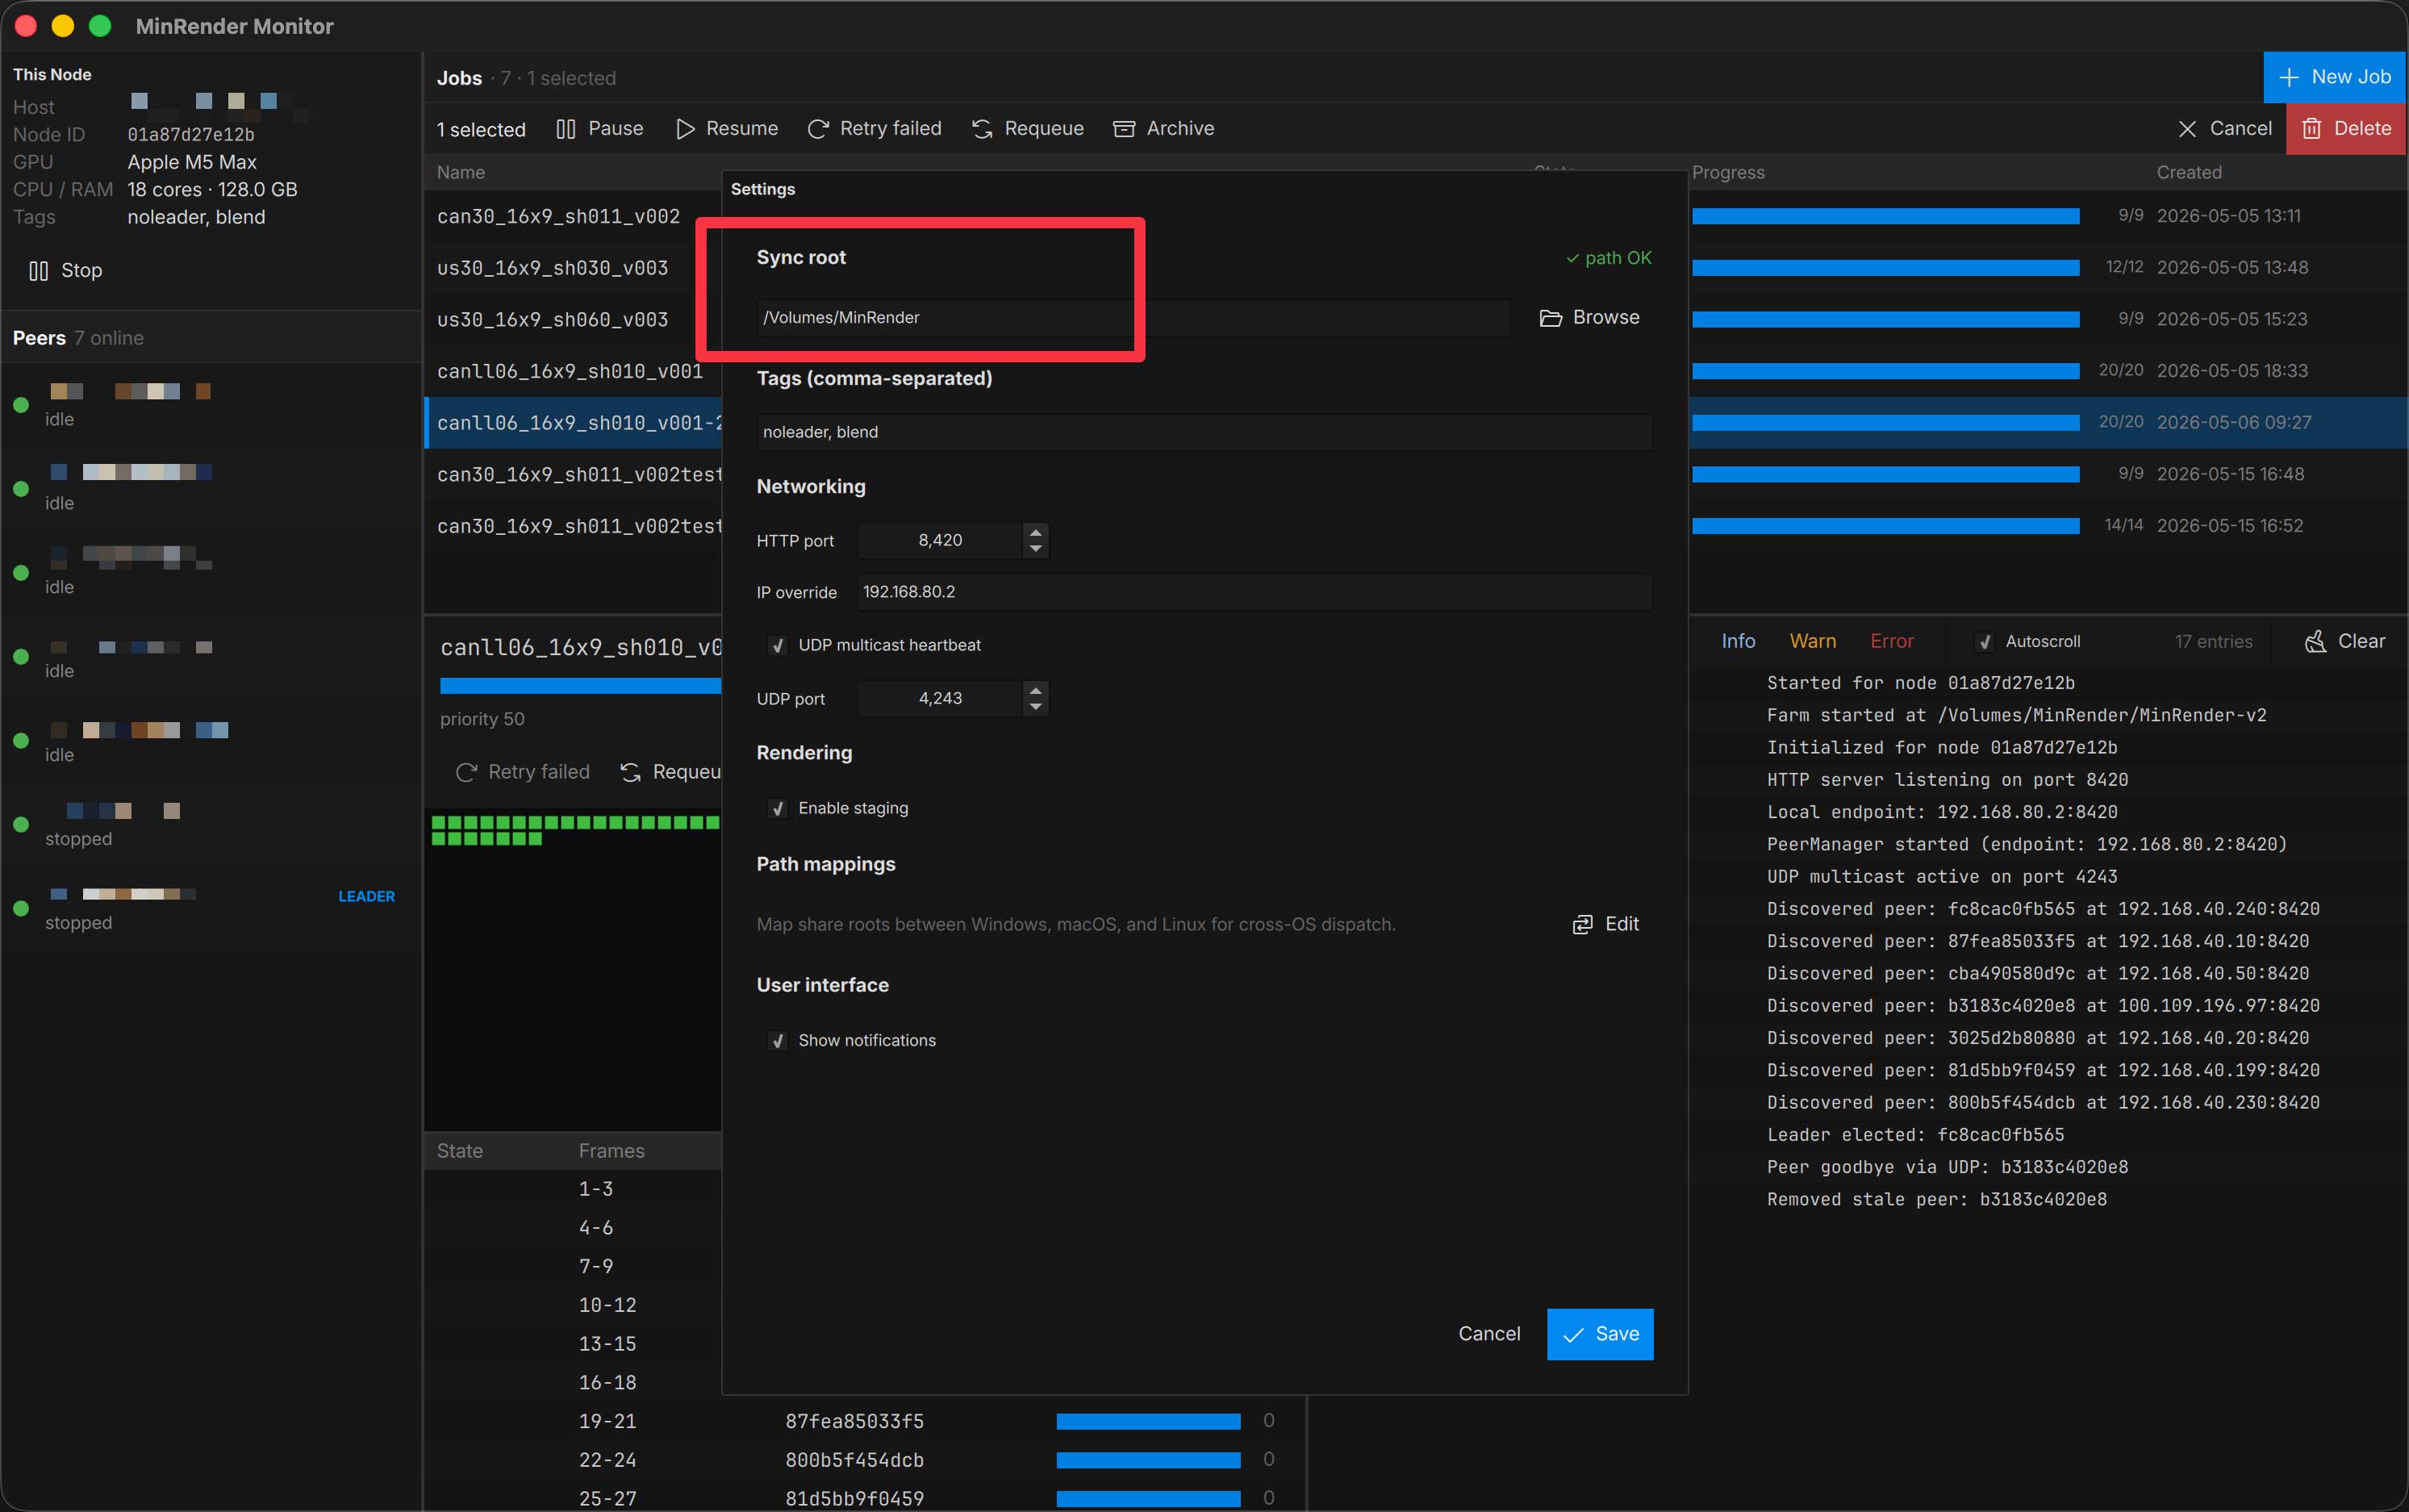
Open the Monitor, go to File → Settings…, and browse to or paste a shared directory that every node can reach. This can be:
- an SMB share on a NAS,
- a synced folder via LucidLink, Dropbox, Synology Drive, Resilio, Syncthing, or similar.
That folder holds the node phonebook, leader state, job records, and aggregated logs (MinRender + DCC stdout). Press Save.
Repeat on every node. As soon as two or more nodes share the same sync root, they’ll discover each other and elect a leader.
What gets created in the sync root
| Subfolder | Purpose |
|---|---|
nodes/ | Per-node phonebook entries — each node writes its own meta.json and heartbeat here. |
jobs/ | Active and finished job records, plus per-chunk DCC stdout logs. |
templates/examples/ | Read-only example templates that ship with MinRender. Override by dropping your own template with the same template_id into templates/. |
plugins/ | Installable DCC submitters (After Effects, Blender, Cinema 4D) — see Submit a job. |
Next
Configure the node’s tags and local staging, then submit your first job.